Microsoft began rolling out Autopilot to Frontier customers on November 17, 2026. If your tenant has access, you can activate Autopilot in Microsoft Copilot from the Microsoft 365 admin center. Microsoft’s Ignite announcement
Autopilot is a personal agent that can keep working on a goal in the background, like tracking open questions in a Teams channel. Before you turn it on, decide who gets access and how many Copilot Credits they can spend.
Before you activate Autopilot
Start with Health → Message center in the Microsoft 365 admin center and look for your tenant’s Autopilot notice. The agent details describe the initial rollout as invite-only. Microsoft lists Microsoft Copilot, Agent 365, and a usage-based billing policy for this Frontier rollout. Confirm that your pilot users have a Microsoft 365 Copilot license and are in scope for Frontier. Microsoft’s Autopilot FAQ · Frontier setup
1. Find Autopilot in the agent registry
Sign in to the Microsoft 365 admin center with an account that can manage agents, such as an AI Administrator. Go to Agents → All agents and select the Registry tab. Search for Autopilot and open Autopilot (Frontier).

If the agent shows Not activated, select Activate in the details pane to open the wizard.

2. Choose who can access Autopilot
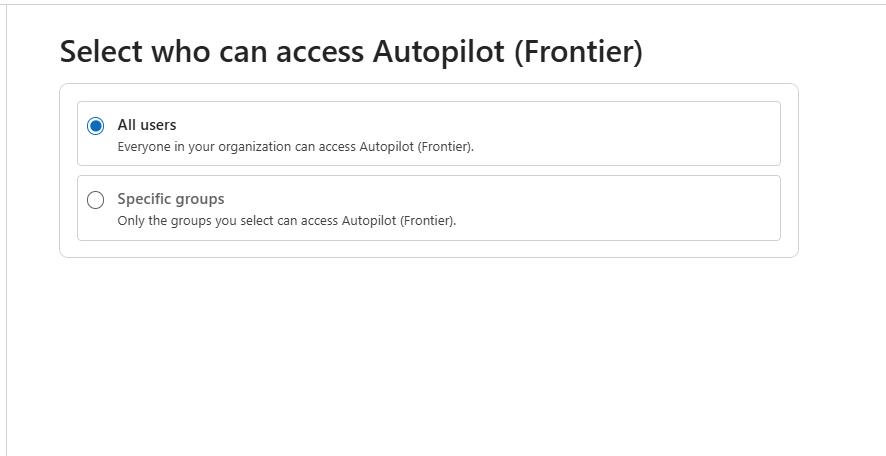
The wizard offers All users and Specific groups. For a first rollout, I’d choose Specific groups and select a small group of eligible users.
3. Review the spending policy
On Review and confirm spending policy, select the policy that will cover Autopilot. Autopilot uses Copilot Credits. Confirm the billing method and check the policy’s monthly limit and per-user limit.
The example shows No limit for both. If the wizard proposes a new policy, select Customize policy to adjust it. I’d set a monthly budget and a per-user limit for the pilot, then set an alert so someone knows when usage is approaching the budget.

If your tenant still needs usage-based billing, set it up with your billing administrator under Copilot → Cost Management. Microsoft’s Copilot Credits setup guide
4. Review permissions and protections
Review any permissions Autopilot requests before granting consent. The wizard also surfaces controls for Microsoft Purview, Microsoft Defender, and SharePoint and OneDrive. Check which SharePoint sites agents can access if your pilot will work with files there. Select Next when you’ve finished the review. Microsoft’s agent activation guidance

5. Review your settings and activate Autopilot
On Review and activate, confirm the agent, spending policy, users and groups, and permissions. Use Edit beside a setting if you need to change it. When the summary matches the rollout you intended, select Activate agent.

6. Open Autopilot in the Copilot app
After you select Activate agent, confirm the agent’s status under Agents → All agents. Then open the Copilot app as a licensed pilot user and select Autopilot in the left navigation. Once setup is available, you can name your Autopilot and give it a first goal. Microsoft’s Autopilot FAQ
In my tenant, the Autopilot tab was already visible. When I opened it, Copilot showed Autopilot is coming soon and said it was still getting the experience ready for my organization.

Check Autopilot in the spending policy
If you see that message, go to Copilot → Cost Management → Configuration in the Microsoft 365 admin center. Open the spending policy that covers your pilot group. Under Agents and services, select Edit and expand Microsoft Copilot. If Autopilot appears in the list, confirm that it’s selected. Microsoft’s spending policy guidance

The policy I checked had Allow new Agents and services as they become available turned on. That setting adds newly supported services to the policy automatically as they become available. Microsoft’s guidance on adding services
My guess is that setup will stay on the coming-soon screen until Autopilot appears in the list and is covered by the spending policy. That’s where I’d check before trying setup again.
If the Autopilot tab is missing entirely, check the tenant’s invitation and the pilot user’s license, Frontier enrollment, and group membership. Once the pilot is running, review consumption in Copilot → Cost Management before expanding access. For more on those spending controls, see my Copilot Cowork billing walkthrough.
Leave a Reply