![Flow Alt Delete – Josh Cook [Microsoft MVP]](https://flowaltdelete.ca/wp-content/uploads/2020/04/cropped-img_0521.jpg)
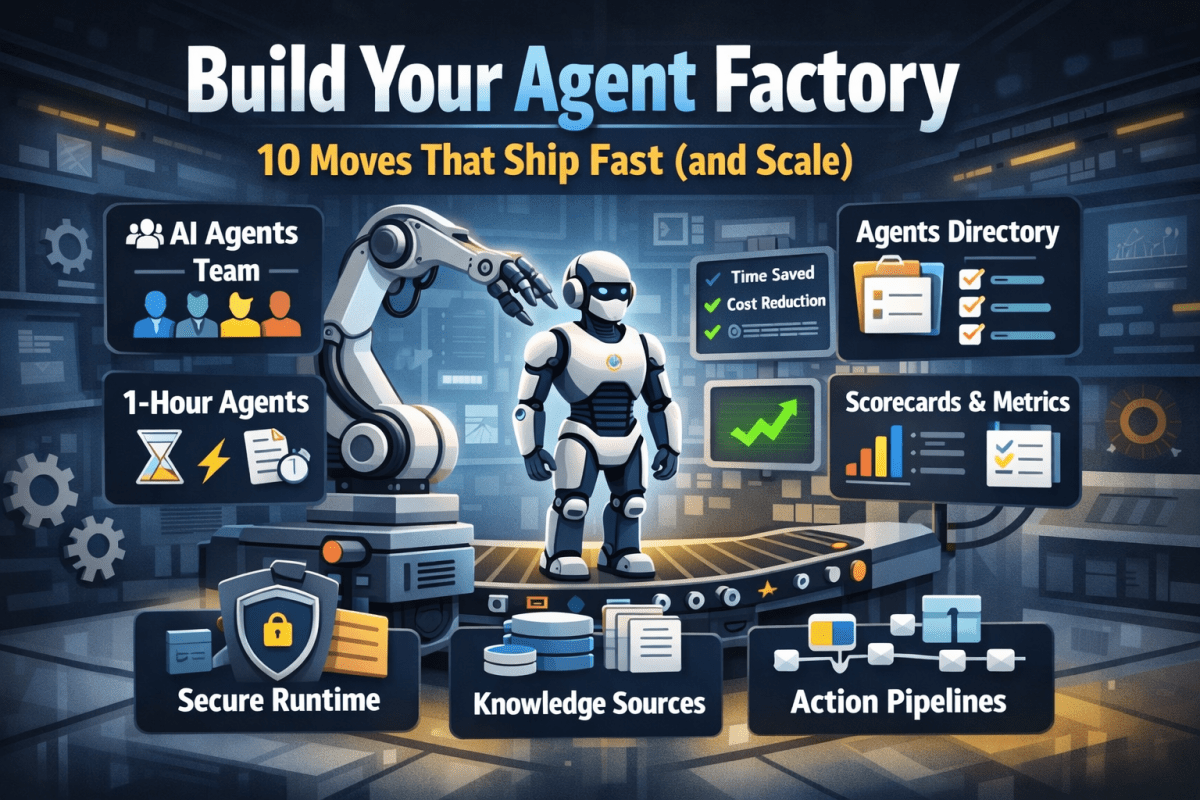
Build Your Agent Factory: 10 Moves That Ship Fast (and Scale)
Agents at scale. Not POCs.
Here’s the playbook I’d hand any exec or builder who wants working agents in production—without turning the org into a science fair.
1) Stand up an AI Agents Workforce
What it is: A small cross-functional crew with authority to hunt repetitive work and ship agents.
Who’s in:
- 1 product owner
- 1 engineer (Copilot Studio/Power Automate)
- 1 data person
- 1 security/governance lead
- 1 domain SME.
Ship this week: Write a one-page charter with scope, decision rights, and a 30-day roadmap (first 5 agents + metrics).
2) Win with horizontals first, then go vertical
Horizontals (1-hour wins): drafting, summarizing, policy Q&A, meeting notes to actions, form-fill helpers.
Verticals (outsized ROI): pick 1–2 per business unit where there’s money, risk, or SLA pain.
Guardrail: don’t start with the hardest workflow; start where you can close the loop and measure value inside two weeks.
3) Make an Agents Directory the front door
Why: Ideas die in email. A directory turns “we should build X” into spec and governance.
Minimum intake fields:
- use case name
- goal
- users
- decision rights
- data sources + who owns it
- tools
- PII/sensitivity
- KPIs
- business owner
- risk level
- rollout plan.
Outcome: Every request auto-generates a lightweight PRD (goal, inputs, outputs, metrics, guardrails) and a yes/no gate.
4) Create the 1-Hour Agent template
Template anatomy:
Goal + success criteria Input schema (what the user provides) Tools (actions/connectors) and permissions Knowledge sources (files, sites, indexes) Safety rules (allowed/blocked actions, escalation) Evaluation set (10–20 test prompts with expected outcomes) Deploy script (Dev → Test → Prod)
Rule: If a use case can’t fit this page, it’s not a 1-hour agent—park it for later.
5) Tie every agent to a visible scorecard
Metrics to publish: time saved, cost avoided, error rate, CO₂/efficiency (where relevant), user satisfaction.
Simple formula: monthly users × average minutes saved × loaded cost = value.
Make it public internally: green/red status, owner, last review, next improvement.
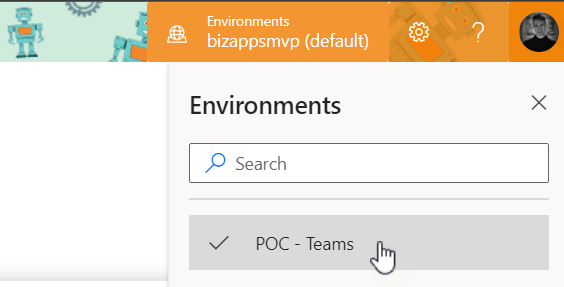
6) Run on a secure, managed agent runtime
Non-negotiables: identity passthrough, content safety, audit logs, tool call restrictions, data boundary controls, environment isolation.
Practical tip: standardize a “sensitive sources” policy and block tools by default; allow case-by-case.
7) Split the stack to move fast without breaking things
Experience layer: Copilot Studio for UX, channels, and connectors.
Agent runtime/orchestration: managed agent service for threads, tool calls, safety, and evaluations.
Why it works: builders ship quickly at the edge; platform team keeps shared guardrails, monitoring, and upgrades stable.
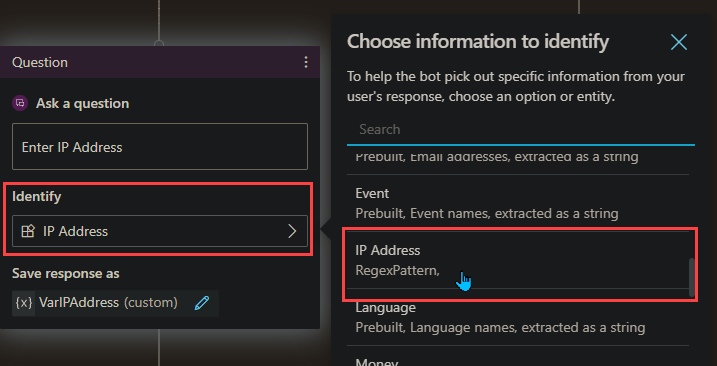
8) Mix knowledge + action (or you’ll stall)
Knowledge: structured grounding (SharePoint/Fabric/Search), doc versioning, citations-on by default.
Action: flows/Logic Apps, Graph, line-of-business APIs; always ship with a dry-run mode first.
Design pattern: Answer → show sources → propose actions → execute on approval. When confidence is high and stakes are low, allow auto-execute.
9) Keep humans in the loop—by design
HITL patterns that work:
Shadow mode (observe only) → suggest mode → execute with approval → auto-execute.
Confidence thresholds where low confidence routes to a human. Escalation logic when guardrails trip or data is missing.
UX rule: one click to approve, one click to undo.
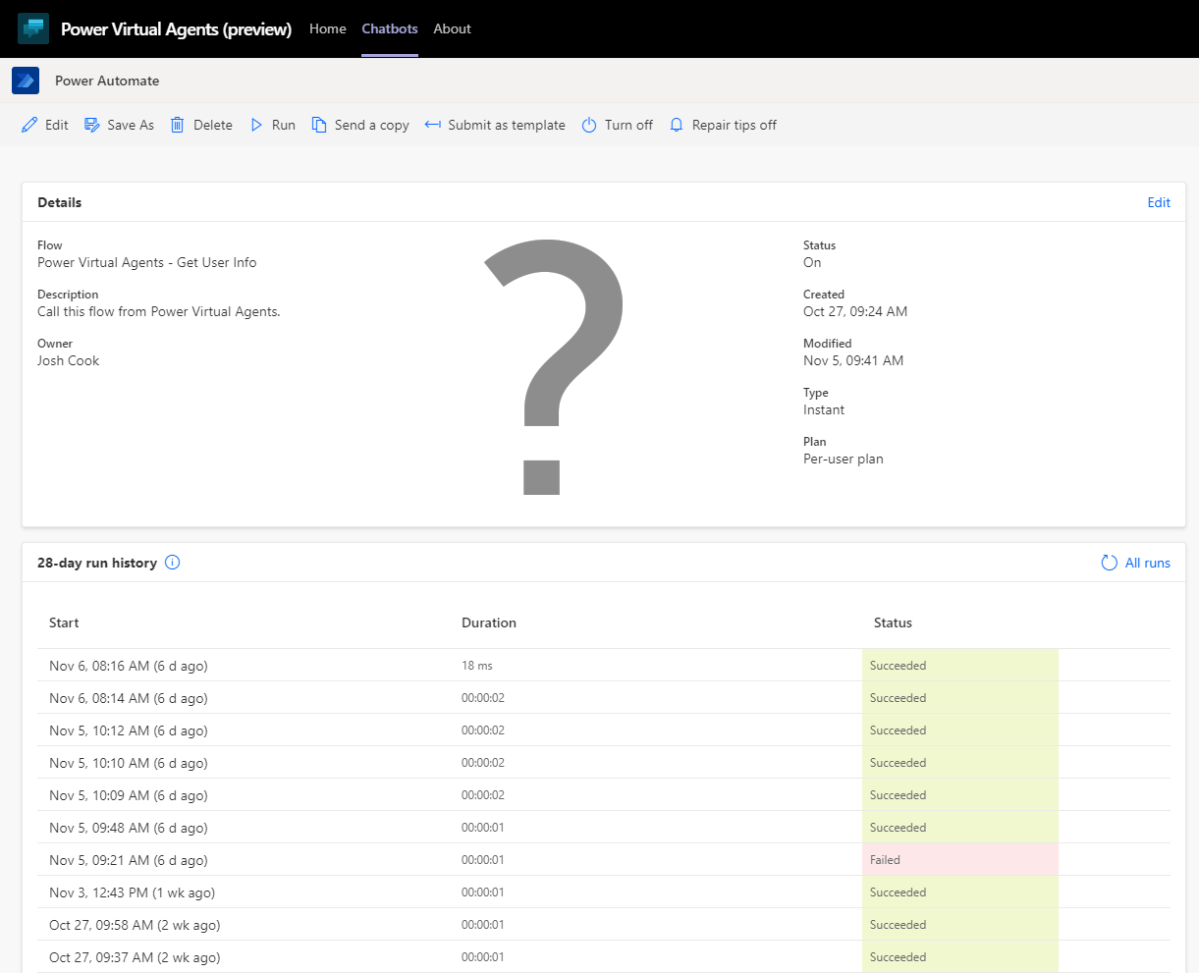
10) Plan to scale on day one
Pipelines: Dev → Test → Prod with approvals and rollback.
Evals: pre-ship test set per agent; weekly drift checks; quarterly red-team.
Ops: central logging, cost dashboards, incident playbook.
Program ritual: a quarterly “Agent Backlog Day” to harvest new ideas and retire underperformers.
Starter Architecture (fast and boring)
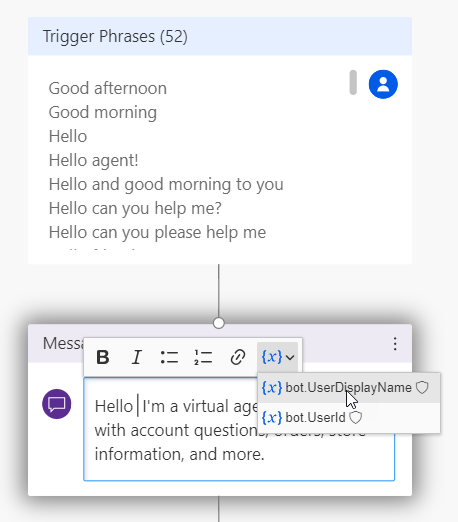
Experience: Copilot Studio (web, Teams, M365, chat, plugins)
Actions: Power Automate/Logic Apps + custom APIs
Knowledge: SharePoint/Fabric/AI Search with retrieval policies
Runtime: managed agent service for tool orchestration, identity, safety
Observability: evaluations, telemetry, and a simple agent scorecard per app
Security: Entra ID RBAC, private endpoints, DLP, approval gates
Prompts and policies that save you pain
Prompt contract (keep it in the repo): role, goals, inputs, allowed tools, forbidden actions, decision rights, escalation, output format, citation rules.
Data contract: what sources are permitted, freshness expectations, sensitivity tags.
Failure modes: what the agent must do when unsure (ask for clarification, route to human, or stop).
Anti-patterns I keep seeing
- Starting with an “AI strategy deck” instead of shipping 3 agents.
- Agents that answer but can’t act—users stop coming back.
- No owner, no scorecard, no sunset date.
- Canary-testing in production without a rollback plan.
- Letting one giant use case block 20 small wins.
Your first week mapped
Day 1: Form the team and publish the charter.
Day 2: Launch the Agents Directory (intake + PRD autogeneration).
Day 3–4: Build two 1-hour agents (drafting + policy Q&A) with eval sets.
Day 5: Ship to a pilot group with scorecards visible. Book the first backlog day.