![Flow Alt Delete – Josh Cook [Microsoft MVP]](https://flowaltdelete.ca/wp-content/uploads/2020/04/cropped-img_0521.jpg)
(Companion guide to “Spin-Up the Microsoft Learn MCP Server”)
Make sure you have read and setup the Docs MCP custom connector from part 1
- What you’ll build
- Prerequisites
- 1 – Create the Agent in Copilot Studio
- Publish & Package for Teams
- Approve Agent App (As a Teams Admin)
- How to Use the Agent
What you’ll build
A Copilot Studio agent that queries the Microsoft Learn MCP server for live docs, then answers teammates inside a Teams chat or Meeting.
Prerequisites
| Need | Notes |
|---|---|
| Docs MCP custom connector from Part 1 | Already in your environment. (https://flowaltdelete.ca/2025/06/26/how-to-spin-up-the-microsoft-learn-mcp-server-in-copilot-studio/) |
| Copilot Studio (preview) tenant | Generative orchestration enabled. (Early Features) |
| Teams admin rights (or approval from your Teams Admin) | To upload a custom app or publish to the org. |
| Copilot Studio License | Message packs or sessions |
Icons to Download (optional)
Below are icons you can use for the Agent and the MCP custom connector.
1 – Create the Agent in Copilot Studio
In this example I am going to use the existing agent I created from Part 1.
- Modify or create the agent with a meaningful name, description, and icon.
(You can use the one I provided from above or use your own) - Name: MS Docs Agent
- Description: MS Docs Agent is your on-demand mentor for Microsoft technologies—built with Copilot Studio and powered by the Microsoft Learn MCP server. Every answer comes from the live, authoritative docs that Microsoft publishes each day, so you never rely on stale model memories or web-scraped content.
- Orchestration = Enabled

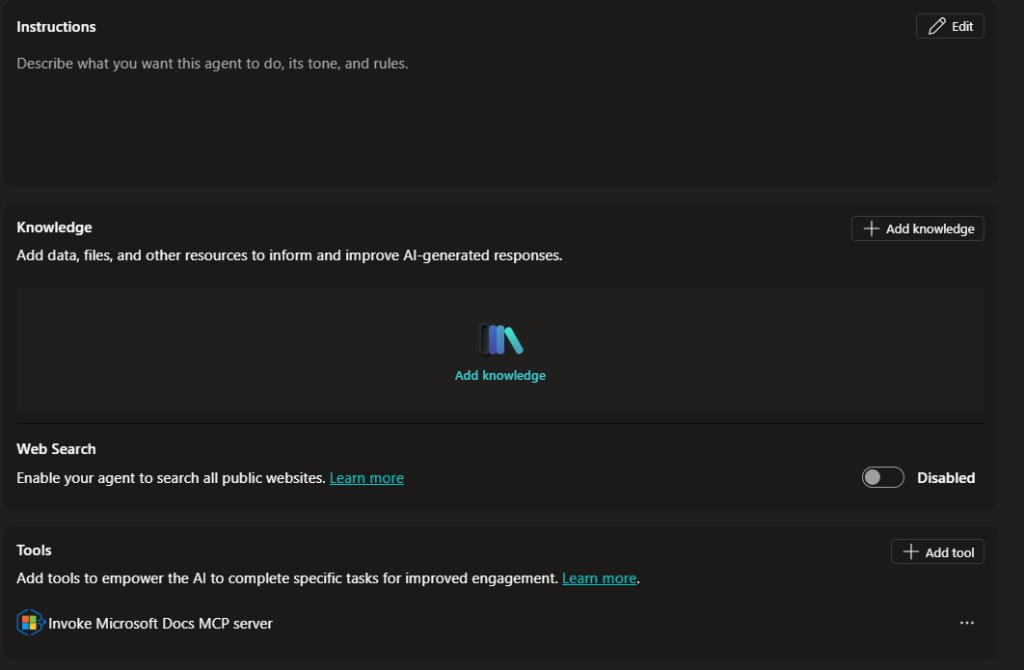
- For your Instructions for the agent, we don’t want to add too much. After much testing I found that in its current state the Docs MCP server handles the instructions well and having too much instructions causes the response to fail. So its better to leave instructions blank for now.
- Web Search – This should be Disabled. We only want the agent to query the docs which it does through the MCP server.
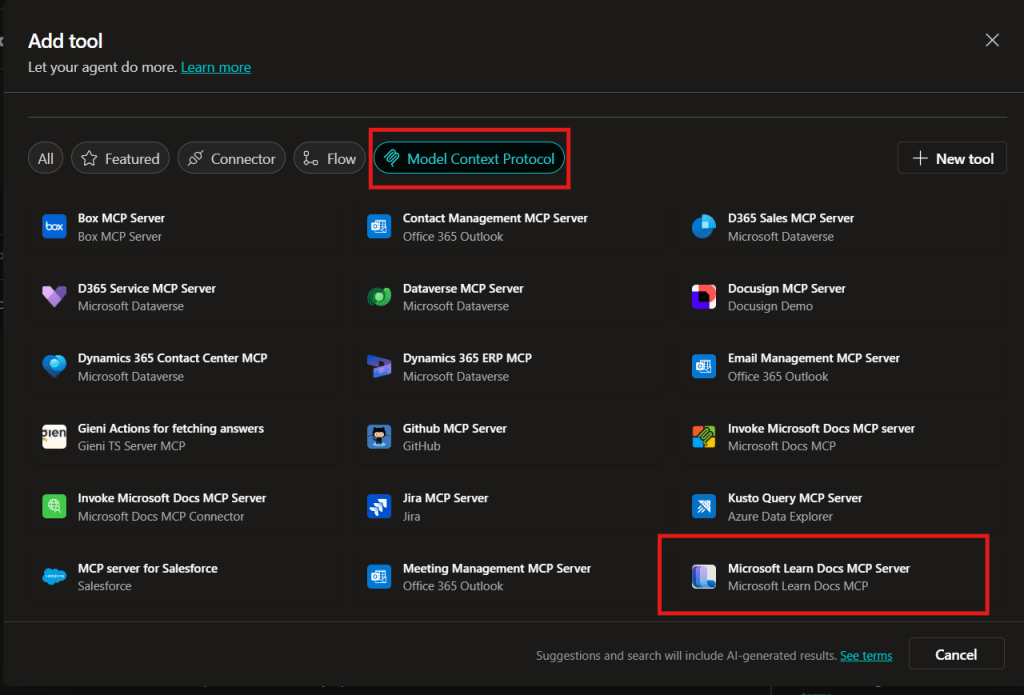
- Knowledge should be empty, the only thing we want this agent to do is query the Docs MCP server, so this should be the only Tool that the agent has access to.
- To recap, the only Tools and Knowledge this agent should have is the MCP Server (custom connector) that we created in the first blog post. If you need help setting this up refer to Part 1.
Add Suggested Prompts
When users interact with the agent in M365 chat (Copilot) we can show suggested prompts to help guide the user in what is possible with this agent. Here are a bunch of samples you can give your agent:
| Title | Prompt |
|---|---|
| Dev Env for Power Apps | Set up a developer environment for Power Apps—step-by-step. |
| Rollup vs Formula | Rollup fields vs Formula columns in Dataverse—when to use each? |
| Flow 502 Fix | Power Automate flow fails with 502 Bad Gateway—how do I resolve it? |
| Cert Path Finder | Fastest certification path for a Dynamics 365 functional consultant. |
| PL-200 Module List | List every Microsoft Learn module covered by the PL-200 exam. |
| Managed Env Enable | Turn on managed environments and approval gates in Power Platform. |
| Finance DLP Policy | Best-practice DLP setup for finance data in Power Platform. |
| Power Fx Date Filter | Sample Power Fx to filter a gallery to today’s records. |
| OpenAI Flow Sample | Minimal example: call Azure OpenAI from Power Automate. |
| Secure Env Vars | Secure environment variables with Azure Key Vault in flows. |
| Pipeline Checklist | Checklist to deploy a solution through Power Platform pipelines. |
| PCF Chart Control | Build a PCF control that renders a chart on a model-driven form. |
| New PA Features | Summarize new Power Apps features announced this month. |
| Preview Connectors | List preview connectors added to Power Automate in the last 30 days. |
| Explain to a Child | Explain Dataverse to a five-year-old. |
You can only add 6 Suggested Prompts. So choose carefully.

Agent Settings
Next we want to configure some settings on the agent.
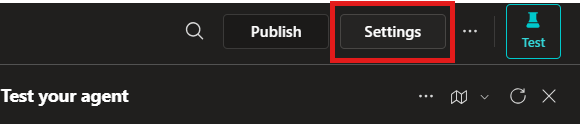
- Click the Settings button on the top right.
- (Optional) If you want the agent to have reasoning capabilities > Under Generative AI turn on: Deep reasoning
**Note that this is a premium feature**
- Scroll down to Knowledge, make sure Use general knowledge and Use information from the Web are both OFF

- Make sure to click Save once done.
Turn Off Pointless Topics
Next we will turn off the topics we don’t want the agent to use.
- Click on Topics tab > Under Custom > Only leave Start Over topic On.

- Under System > Turn Off:
– End of Conversation
– Escalate
– Fallback
– Multiple Topics Matched
- Next, lets modify the Conversation Start to make it sound better.
Click Conversation Start topic > Modify the Message node:
- Click Save.
Now we are ready to Publish and Package for Teams!
Publish & Package for Teams
Next we need to Publish our agent.
- Click on the Channels tab > Click Publish

- Once your agent is published > Click on the Teams and Microsoft 365 Copilot channel.

- A sidebar opens > Check the Make agent available in Microsoft 365 Copilot > Click Add channel.

- After the channel has been added > Click Edit details.

- This is where we configure the agent in Teams. We will modify the icon, give a short description, long description and allow for the agent to be added to a team and meeting chats.
Under Teams settings > Check both:
– Users can add this agent to a team
– Use this agent for group and meeting chats
- Click Save
Submit Agent for Approval
Now because we want our organization to easily find and use this agent. We will submit the agent to the Agent Store. To do this follow these steps:
- First Publish your agent, to make sure you have the newest version you are pushing to Teams admin for approval.
- Next click on the Channels tab > Select the Teams and Microsoft 365 Copilot channel.
- Now click Availability options.
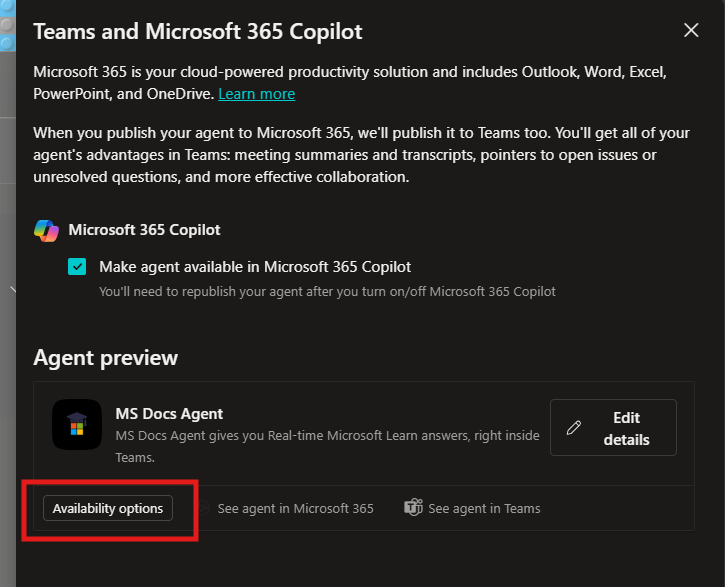
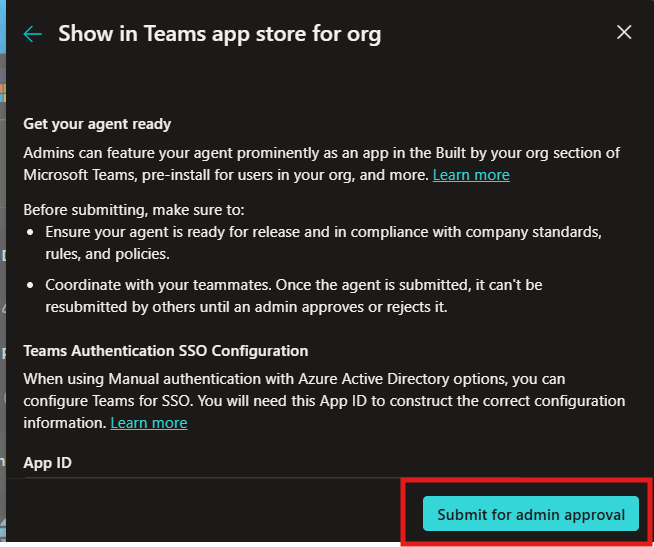
- Now we will configure the Show to everyone in my org.

- Than click Submit for admin approval.
Now we will look at what a Teams Admin has to do.
Approve Agent App (As a Teams Admin)
A Microsoft Teams Admin will have to approve the Agent app before your org can use it. As a Teams Admin follow these steps:
- Navigate to https://admin.teams.microsoft.com/policies/manage-apps
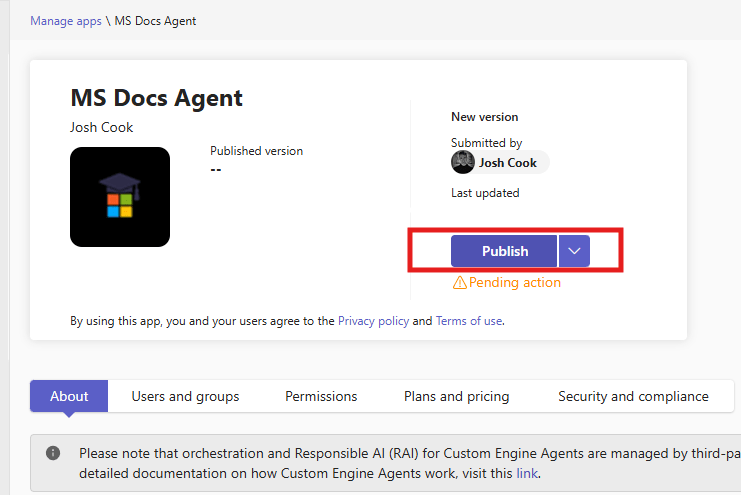
(Click on Manage apps under Teams apps) - Search for your agent name in the search bar

- Click the agent > Publish.
- Note:: You will need Admin Approval each time you want to publish an update to the agent.
How to Use the Agent
Once your agent is approved by an Admin. You can easily find it in the Agent Store. Another easy way to get to your agent is to open it from Copilot Studio:
- Click Channels tab > Select Teams and Microsoft 365 Copilot channel > Click See agent in Teams.

You will be brought to Teams with the agent open. You can now add it:

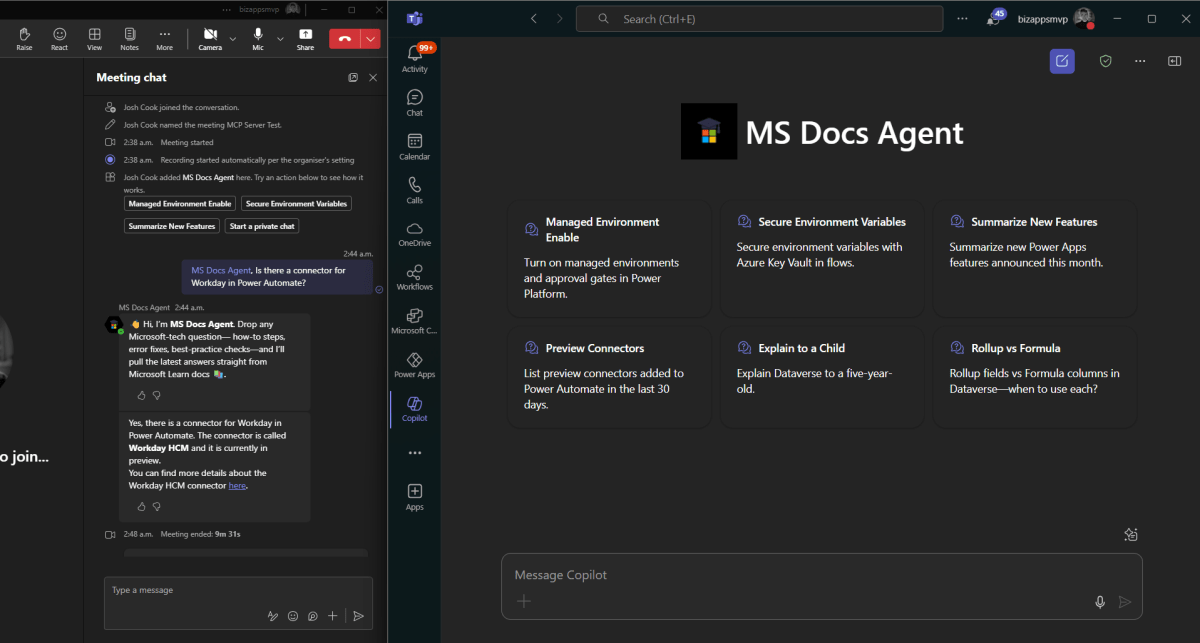
Adding Agent to a Meeting or Chat
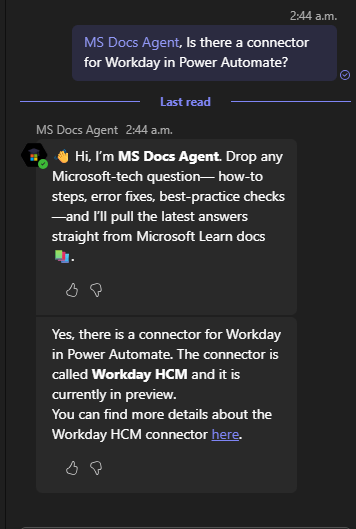
There are a few ways to add the agent to a meeting. One easy way is to @mention the agent in the chat.

**Note to start typing the name of the agent, and it should show up**
Troubleshooting
There are a few things to note that I ran into:
1) If your getting an error on the MCP Server, remove all custom instructions
2) Sometimes your agents details can be cached and showing old metadata. In this case you can resubmit the app approval.
3) Always test the Agent inside Copilot Studio Test Pane with tracking topics and Activity Map turned On.


